Search
Close this search box.
Search
Close this search box.

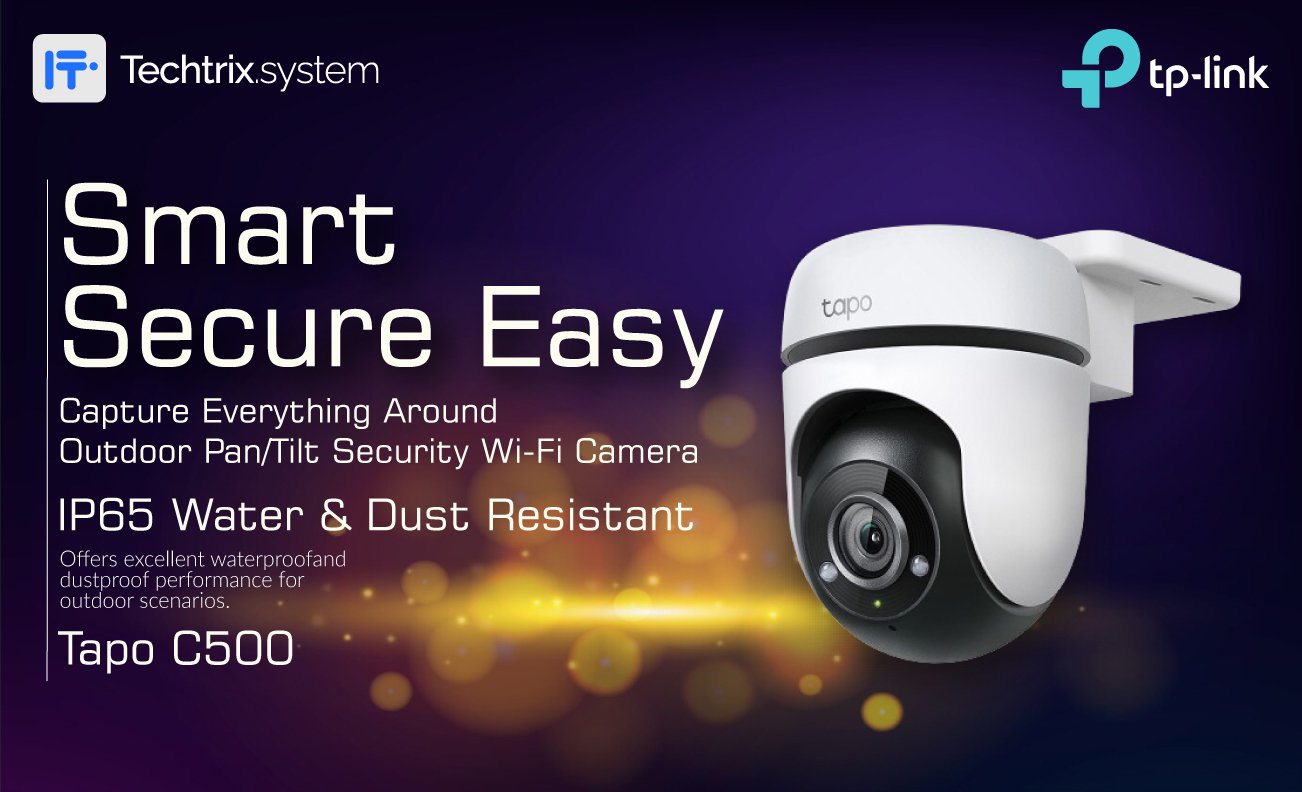
Complete Installation Guide for TP-Link Tapo C500 Outdoor Pan/Tilt Security WiFi Camera With Techtrix System

Introduction:

Welcome to the comprehensive installation guide for the TP-Link Tapo C500 Outdoor Pan/Tilt Security WiFi Camera. As a proud distributor of TP-Link products in Pakistan, Techtrix System is committed to providing you with step-by-step instructions to set up your TP-Link Tapo C500 with ease. Whether you’re in Karachi, Lahore, or anywhere else in Pakistan, this guide will assist you in configuring your outdoor camera for optimum security surveillance.

Step 1: Unboxing and Contents Check:

Upon receiving your TP-Link Tapo C500, ensure all contents are present:

  • TP-Link Tapo C500 Camera
  • Power Adapter
  • Mounting Screws and Anchors
  • Waterproof Lid
  • Quick Start Guide

Step 2:

Camera Placement:

  1. Choose an optimal outdoor location for mounting your TP-Link Tapo C500 within the WiFi range.
  2. Ensure the mounting surface is stable and can support the weight of the camera.
  3. Use the included screws and anchors to securely mount the camera.

Step 3:

Power Connection:

  1. Connect the power adapter to the camera’s power input port.
  2. Plug the adapter into a power outlet nearby.

Step 4:

Network Connection:

  1. Download and install the “Tapo” app from Google Play Store or Apple App Store.
  2. Open the app and create a Tapo account if you haven’t already.
  3. Follow the in-app instructions to add a new device.
  4. Choose “Security Cameras” and select “Tapo C500”.
  5. Power on the camera and wait for the indicator light to blink amber.
  6. Enter your WiFi network credentials when prompted.
  7. Hold your smartphone close to the camera to scan the QR code displayed on its screen.
  8. Once the QR code is scanned, wait for the indicator light to turn solid green, indicating successful connection.

Step 5:

Configuration:

  1. Give your camera a name for easy identification.
  2. Set up a password to secure your camera feed.
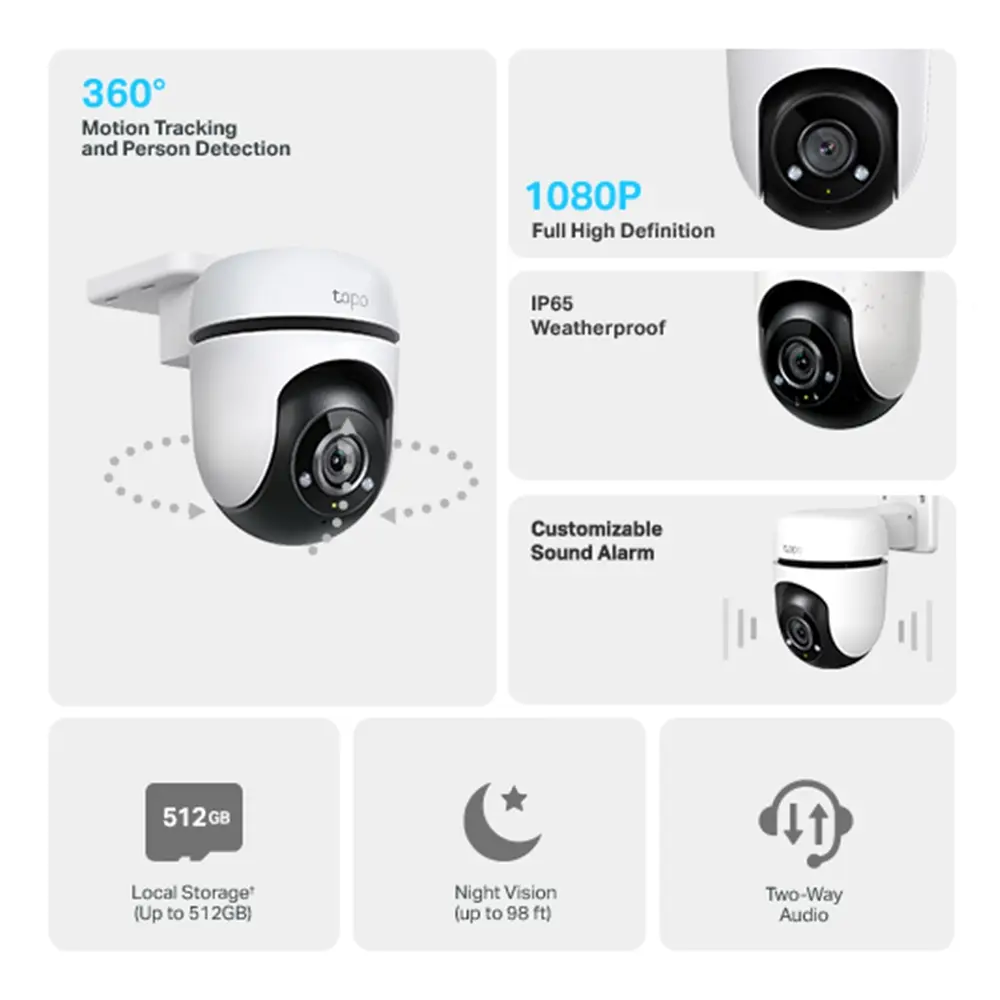
  3. Adjust camera settings such as motion detection sensitivity, night vision mode, and video quality according to your preferences.
Complete Installation Guide for TP-Link Tapo C500 Outdoor Pan/Tilt Security WiFi Camera Introduction: Welcome to the comprehensive installation guide for the TP-Link Tapo C500 Outdoor Pan/Tilt Security WiFi Camera. As a proud distributor of TP-Link products in Pakistan, Techtrix System is committed to providing you with step-by-step instructions to set up your TP-Link Tapo C500 with ease. Whether you're in Karachi, Lahore, or anywhere else in Pakistan, this guide will assist you in configuring your outdoor camera for optimum security surveillance. Step 1: Unboxing and Contents Check: Upon receiving your TP-Link Tapo C500, ensure all contents are present: TP-Link Tapo C500 Camera Power Adapter Mounting Screws and Anchors Waterproof Lid Quick Start Guide Step 2: Camera Placement: Choose an optimal outdoor location for mounting your TP-Link Tapo C500 within the WiFi range. Ensure the mounting surface is stable and can support the weight of the camera. Use the included screws and anchors to securely mount the camera. Step 3: Power Connection: Connect the power adapter to the camera's power input port. Plug the adapter into a power outlet nearby. Step 4: Network Connection: Download and install the "Tapo" app from Google Play Store or Apple App Store. Open the app and create a Tapo account if you haven't already. Follow the in-app instructions to add a new device. Choose "Security Cameras" and select "Tapo C500". Power on the camera and wait for the indicator light to blink amber. Enter your WiFi network credentials when prompted. Hold your smartphone close to the camera to scan the QR code displayed on its screen. Once the QR code is scanned, wait for the indicator light to turn solid green, indicating successful connection. Step 5: Configuration: Give your camera a name for easy identification. Set up a password to secure your camera feed. Adjust camera settings such as motion detection sensitivity, night vision mode, and video quality according to your preferences. Step 6: Remote Access: Access your TP-Link Tapo C500 camera feed remotely by launching the Tapo app on your smartphone. Log in to your Tapo account. Select your camera from the device list to view live footage. Utilize features like pan/tilt control and two-way audio for enhanced surveillance. Step 7: Final Checks: Ensure the camera provides clear visibility of the monitored area. Test motion detection and receive alerts on your smartphone. Verify remote access functionality from different locations. Congratulations! You have successfully installed and configured your TP-Link Tapo C500 Outdoor Pan/Tilt Security WiFi Camera. For any further assistance or inquiries regarding TP-Link products in Pakistan, contact Techtrix System, your trusted TP-Link distributor in Karachi, Lahore, and across the country. Stay vigilant and secure with TP-Link's advanced surveillance solutions.

Step 6:

Remote Access:

  1. Access your TP-Link Tapo C500 camera feed remotely by launching the Tapo app on your smartphone.
  2. Log in to your Tapo account.
  3. Select your camera from the device list to view live footage.
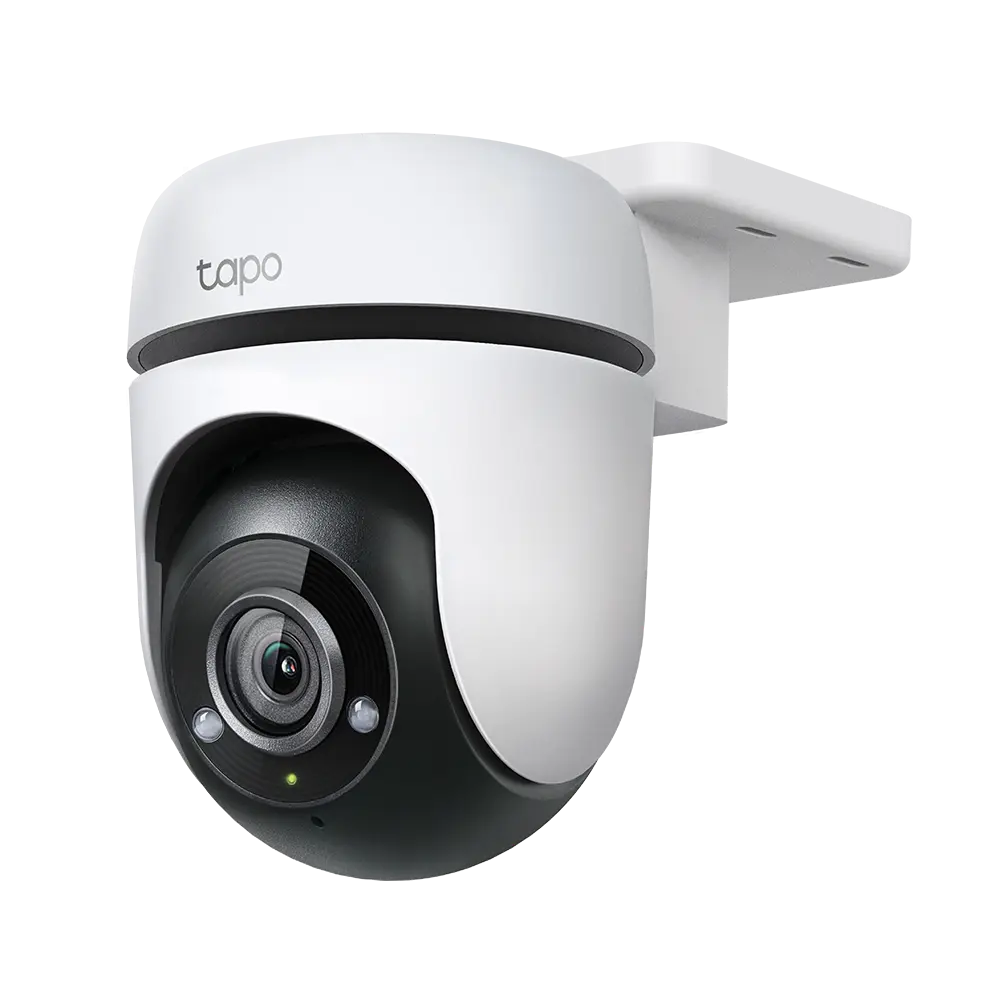
  4. Utilize features like pan/tilt control and two-way audio for enhanced surveillance.

Step 7:

Final Checks:

  1. Ensure the camera provides clear visibility of the monitored area.
  2. Test motion detection and receive alerts on your smartphone.
  3. Verify remote access functionality from different locations.

Get Complete Installation Assistance With Techtrix System:

Techtrix System is sole distributor in Pakistan providing in efficient installations assistance over a decade by serving a plenty of clients across Pakistan including UAE & KSA.

Share Post:

Stay Connected

More Updates